Dry Lining And Plasterboarding
You are here:
Home Page > Second Fix > Dry Lining
Once you start lining the walls and ceilings with plasterboard you know your loft conversion is nearing completion.
Plasterboards
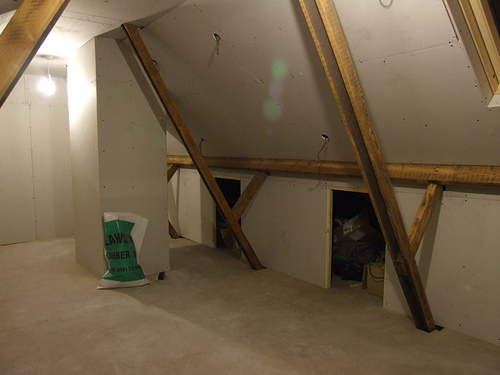
Fitting the plasterboards is quite a simple procedure.
They are placed onto the rafters or timber framework of the wall or ceiling over the insulation and fixed into position with dry wall screws. The insulation basically becomes the meat in the sandwich between the plasterboard and the timbers.
Choosing The Boards
Plasterboard is usually available in two main sizes; 2400 x 1200mm or 1800 x 900mm and in a thickness of either 9.5mm or 12.5mm. Which size you go for is more or less down to personal choice but in this case bigger isn't always better.
The smaller boards are much easier to actually carry up to the loft and are often more practical to use.
With regards to the thickness of the boards the choice depends on the space between the joists or studs. If more than 400mm than the thicker board will need to be used as the 9.5mm will sag or buckle if used in spaces wider than 400mm.
Fixing The Plasterboards
Before the plasterboards are fitted they need to be back with polythene sheeting which acts as a vapour barrier. Boards can be purchased that are pre-backed with foil but these are a lot more expense than the plain boards.
Once the boards are cut to size they need to fixed neatly to the timbers of the new walls and ceilings. For cable ends a new timber framework or stud wall will need to be built for the plasterboard to be fixed to.
As we mentioned at the top of this page fixing is quite straight forward using dry wall screws. An important thing to remember is to not line up the boards squarely.
The boards should be staggered to that the joints between the boards are not in a straight line. This reduces the risk of the boards cracking. Leave a tiny gap, not more than 2mm, between each board.
Remember that the grey or off-colour side of the board should be facing you so that it can be skimmed. Getting the boards the wrong way round is more than a little irritating!
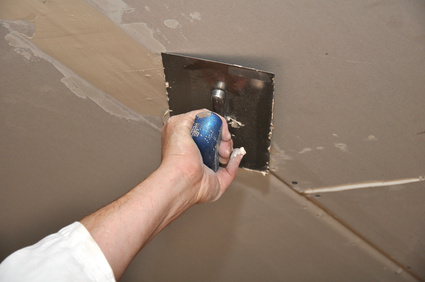
Dry Lining
The final part of the process is skimming the boards with a layer of plaster to make them ready for decorating. It usually takes around 48 hours before the plaster is dried through to allow paint to be applied.
For more info see the related pages below
All About Second Fix Electrics
More Info On Second Fix Plumbing
Dry Lining And Those Stud Walls


Be Prepared!

Latest Headlines

Search This Site

Take Me Home!

Latest Articles
-
What Is Vermiculite Loft Insulation?
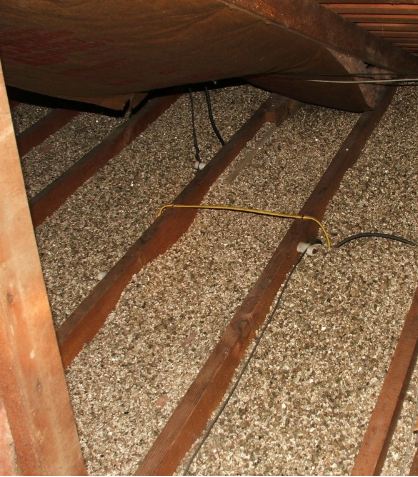 Vermiculite Loft Insulation is an echo-friendly alternative to traditional insulation materials
 -
The Loft Water Tank Moving And Repositioning
The old loft water tank will need to be moved if the roof space is being converted into a habitable room -
Structural Calculations For Loft Conversions
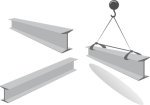 Structural calculations for loft conversions are of course hugely important to ensure safety and that the proposed plans meet building regulations