Making A Stud Wall And
Dividing Out Your Conversion
You are here:
Home Page > DIY Loft Conversion > Making A Stud Wall
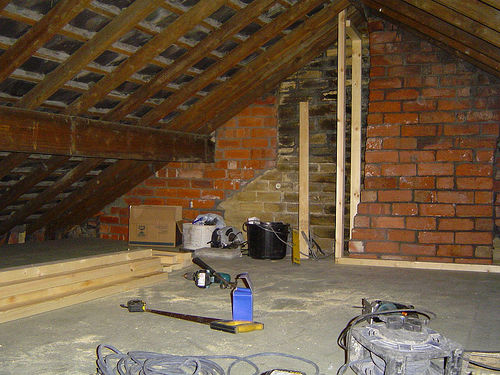
DIY loft conversions and stud walls go hand-in-hand as new walls will not only be needed in the roof space itself but also for enclosing the new staircase.
Actually building the timber frame of the wall is quite straight-forward with the most care being needed to ensure that all the studs (lengths of timber) are square and true.
And, the same techniques are used whether you are making a stud wall for the loft or for a flight of stairs – the only real difference being that for enclosing a loft staircase you will probably have to remove a small section of skirting board to enable the studs to fit flush to the existing wall.
The best studs for the wall are lengths of sawn 4x2 inch (10x5cm) softwood and these should be fixed no more than 2 foot apart if using 1/4inch plasterboard to cover the frame – for instructions on covering the timber frame with plasterboard click here.
If making a stud wall to enclose a staircase the first thing to do is to ascertain the position of the head plate (the top length of timber which runs the width of the new wall).
Having marked the position, next mark the position for the two end vertical studs by holding a length of timber and a spirit level against the existing wall – repeat for the opposite wall.
You should now have three marked lines for the head plate and each vertical end stud – the position of the bottom plate (the length of timber fixed to the floor which runs the width of the new wall) will now run between the two vertical marks and below the head plate line.
Of course, when making a stud wall in the roof space the process will be reversed with the bottom plate being the first guideline to be established as there will not yet be a ceiling on which to mark the position of the head plate.
The first step in actually making a stud wall (after removing the skirting board if not working in the roof space) is to prepare the bottom plate. Cut a stud of 4x2 inch timber to the desired length and screw the bottom plate into the floor driving in the screws at 18inch intervals.
Repeat the same process for the head plate so that the upper and lower studs are now in position. If making a stud wall in the roof space the process will be slightly different in that the two vertical end studs will need to be fitted first before screwing the head plate into position.
The end result of fixing the head and bottom plate into position, along with the two outer vertical studs, will be a rectangular frame of four sides. This outer frame now needs to be filled in to add strength and to enable plasterboard to be placed on the wall.

The next stage in making a stud wall and the first step to filling in the frame is mark the position of each internal vertical stud (keeping to the maximum gap of two feet). Cut several small blocks of timber and nail one against each mark on the bottom plate – these timber blocks wills serve as additional supports as well as making the actual fixing of the studs that much easier.
Cut the vertical studs to length, ensuring each fits snugly between the head and bottom plates, and position the first stud against a timber block. Nail the first vertical stud into position against its timber block and then, holding a spirit level against the stud to ensure it remains straight, nail the top end of the stud to the head plate.
Repeat for all vertical studs.
With all the vertical studs in position all that remains is to add the final strengthening by adding horizontal studs between the vertical timbers.
It is up to you how many horizontal studs you add to the frame but a wall can never be too well built. At least two horizontal studs should be added between each two vertical studs.
And that’s the stud wall just about finished. One thing to remember when making a stud wall is to drill access holes for any electrical cable that will need to threaded through the wall. Otherwise the carpentry part the job is jobbed and its time to finish off by fixing the plasterboard.
For more info see the related pages below


Be Prepared!

Latest Headlines

Search This Site

Take Me Home!

Latest Articles
-
What Is Vermiculite Loft Insulation?
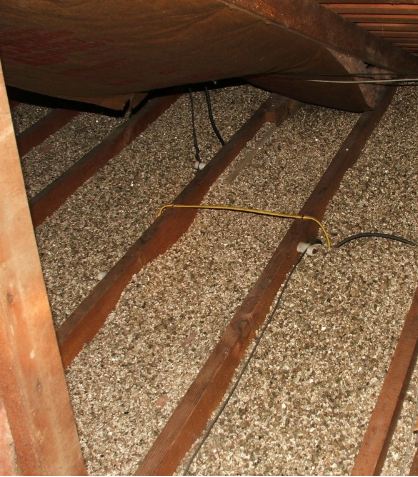 Vermiculite Loft Insulation is an echo-friendly alternative to traditional insulation materials
 -
The Loft Water Tank Moving And Repositioning
The old loft water tank will need to be moved if the roof space is being converted into a habitable room -
Structural Calculations For Loft Conversions
 Structural calculations for loft conversions are of course hugely important to ensure safety and that the proposed plans meet building regulations