How To Clad A Stud Wall
With Plasterboard
You are here:
Home Page > DIY Loft Conversion > Plasterboard
Cladding a stud wall frame with plaster boarding isn’t a difficult task but it is tricky.
Actually heaving the boards into position and keeping them there whilst they are attached to the wall isn’t easy so it is always best to try and have an extra person to help.
A second person not only helps to make the job easier and quicker they will also help you cut down on the swear box deposits!
The most difficult part of the job is cutting the board to size. The material is extremely fragile and very easy to snap – so take care when preparing the boards to always carry them on edge.
Accidents are always likely if the boards are carried flat with them likely to break in two at any given moment

Of course, once the panels are attached to the stud wall they are very strong – but until they are safely up take extra care.
The boards are usually supplied in large 8’x4’ sheets although different sizes are available. For cladding a stud wall however the standard sized sheets are the most convenient to use.
Cladding A Stud Wall
Using quarter inch board firstly measure the floor-to-ceiling (or bottom plate to head plate) height and cut the first panel to fit leaving a ¾ or 1 inch gap at the bottom to aid fixing. This gap will be cloaked after the wall is finished by the addition of the skirting board.
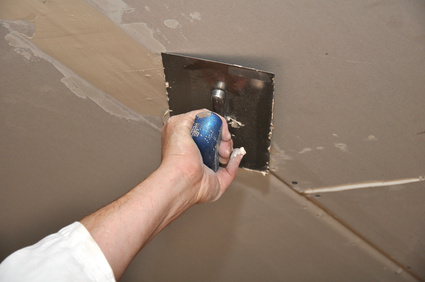
Cut the panel by sawing or scoring through the backing paper and into the plaster and (carefully) snapping the board over a length of wood – finish the cut by cutting along the split from the opposite side. If preferred the board can be cut all the way through by using a very fine toothed saw.
Before fixing the plasterboard to the stud wall cut out any apertures for sockets etc., as it is much easier to do this now then when the board has been nailed into position.
Begin cladding the stud wall from the top left hand corner by placing the panel flush with the ceiling (or top of head plate if working on a new loft wall) and fix into place with galvanized plasterboard nails driven through the panels and into the timber framework of the stud wall with the nails being around six inches apart.
Fit the rest of the panels by butting the edges together but be prepared to ‘jigsaw’ fit the last couple of panels as they never seem to fit without being cut down in width.
After cladding one side of the wall, and before beginning on the other side, lay insulation blankets between the studs unless you are using thermal boarding.
Types Of Plasterboard
Standard panels, as used for cladding stud walls, can be supplied with either squared or tapered edges and with either 3/8” or ½” thickness. For best results it is advisable to use the ½” size with (my preference here) squared edges. Where extra insulation is needed special thermal panels can be used.
For more info see the related pages below
The Worst DIY Loft Conversion Ever?
Some Advice For The DIYer Contemplating A Loft Conversion


Be Prepared!

Latest Headlines

Search This Site

Take Me Home!

Latest Articles
-
What Is Vermiculite Loft Insulation?
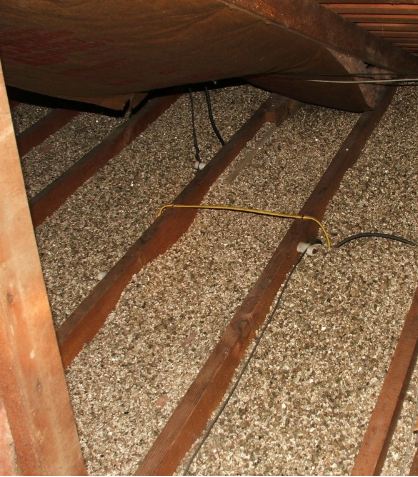 Vermiculite Loft Insulation is an echo-friendly alternative to traditional insulation materials
 -
The Loft Water Tank Moving And Repositioning
The old loft water tank will need to be moved if the roof space is being converted into a habitable room -
Structural Calculations For Loft Conversions
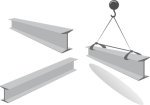 Structural calculations for loft conversions are of course hugely important to ensure safety and that the proposed plans meet building regulations